Design your vessel.Print the mould kit.Cast it.
A parametric studio that generates a complete 3D-printable silicone-mould kit — master, formwork, core and bridge — with exact silicone and casting quantities for concrete, Jesmonite or plaster. Free during the launch.
Designing, previewing and downloading kits are free for now. The objects you cast may be sold.
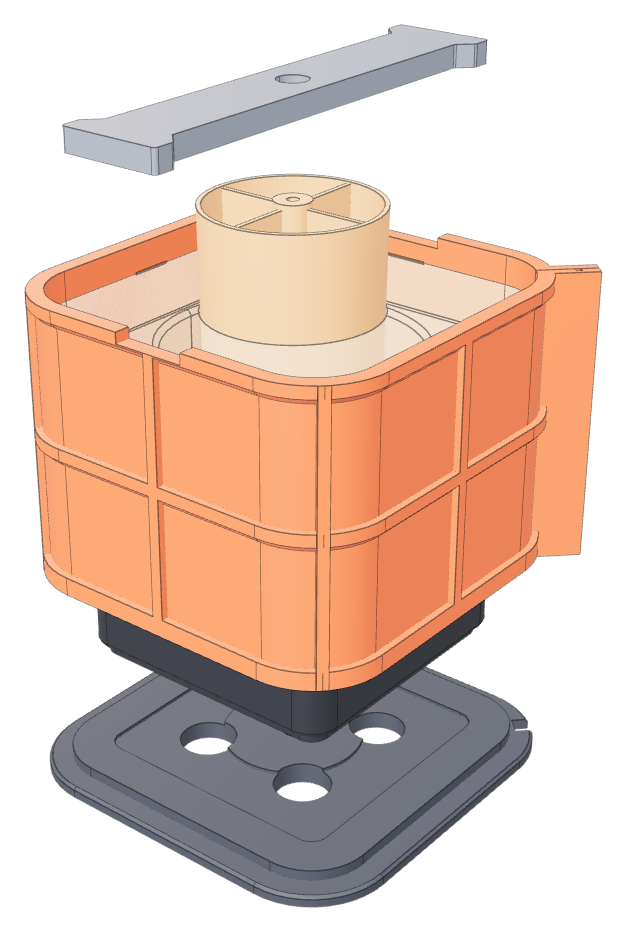
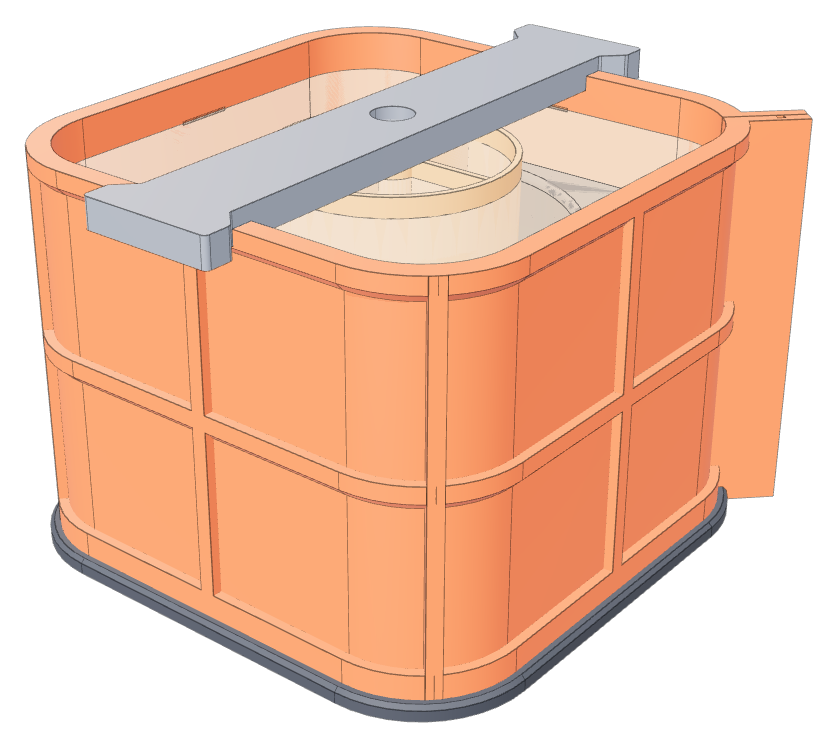
Cross-section of a kit during the silicone pour
One pour of silicone makes the whole mould: the outer block around the master and the inner sleeve around the core. This is the kit at that moment, part by part.
See the full processThe technique candle and planter makers already trust, made parametric.
Mouldery reproduces the master-plus-formwork method behind the best-selling mould kits for concrete vessels, and generates it for the exact shape you configure.
- 01
Exact silicone volume
Every kit states the silicone you need in millilitres and grams, with a loss margin. Silicone is the expensive part: you buy what the pour needs, not a guess.
- 02
The master cannot float
The hollow master is screwed to the base plate with an M5 countersunk screw. It sits flat on the plate, so there is no silicone under the foot and nothing drifts during the pour.
- 03
No draft angle required
Silicone is poured around the master and inside its cavity around a rigid core. The inner sleeve peels out of the finished vessel; the core only stiffens it. Straight walls and light undercuts demould fine.
- 04
Perfect rim and wick socket
The vessel is cast upside-down. Its rim and the 23 mm wick socket are formed against silicone; only the hidden bottom is screeded flat.
- 05
A formwork that does not leak
One-piece ribbed frame, a split locked by tongue-and-groove and two binder clips, a base plate with a centring boss. Fits are 0.15 mm, tight on purpose.
- 06
Print settings included
Line width, perimeters, infill and orientation for each part, no supports. The README tells you what to change if your printer over-extrudes.
Six parts to print, nine STL files, one README.
Every kit is generated from your parameters when you download it: the six mould parts, their variants (two-half formwork, plain master) and a reference model of the finished vessel. Files are STL, ready for any slicer.
- 01
Master model
The hollow positive of your vessel, with a hexagonal pocket for the M5 nut. Print at 0.12 mm layers and sand it: silicone copies everything.
- 02
One-piece formwork
Ribbed frame printed upright, with one split corner, a tongue-and-groove lock and two pockets for the bridge.
- 03
Base plate
Centring boss, 1 mm recess for the plinth, relief disc for a slightly hollowed foot, countersunk M5 hole and four push-out holes.
- 04
Rigid core
Hollow cylinder with 1° of draft and a hub for a 4 mm screw. It shapes the cavity, then stiffens the silicone sleeve for every cast.
- 05
Bridge
A bar that drops into the formwork pockets and holds the core down. A hollow core floats with about 70 g of lift; the bridge stops it.
- 06
Wick centring tool
A bow-tie that holds a 15 mm wood wick straight while the wax sets. In every kit, for the candle vessels.
- 07
README
Silicone and concrete quantities, hardware list, print settings per part and the full step-by-step, in English and French.
- 01
Configure
Pick a preset from six families — candle jars, planters, vases, trays, cups, desk organisers — then set footprint, height, wall, cavity, wick socket, drainage and relief. Volumes update live in ml and oz.
- 02
Generate and print
Download the ZIP — free during the launch. Print the six parts in PLA or PETG with the settings in the README. No supports.
- 03
Pour the silicone
Screw the master to the plate, clip the formwork, drop in core and bridge, pour to the engraved line. The exact quantity is in your README.
- 04
Cast
Push the master out, flip the mould, pour concrete or Jesmonite, screed the open bottom. Demould the next day; the inner sleeve peels out.
- 0ml
- of silicone for an 80 mm jar, stated to the millilitre
- 0g
- of concrete or Jesmonite per cast
- 0g
- of filament for the six parts, no supports
- 0h
- from the pour to the first demould
29 vessels in 6 families, every dimension editable.
Candle jars, planters, vases, trays and dishes, cups, desk and storage pieces. Open any model in the studio and change what you need: the dimensions below are the defaults, and a kit costs the same whatever the shape.
All 29 models, rendered from the studio
 Square 80 leaf
 “Not Square” tilted-edge
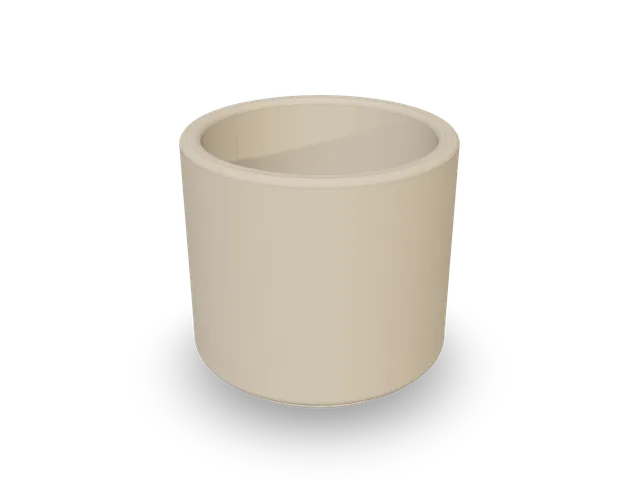 Round jar ⌀80
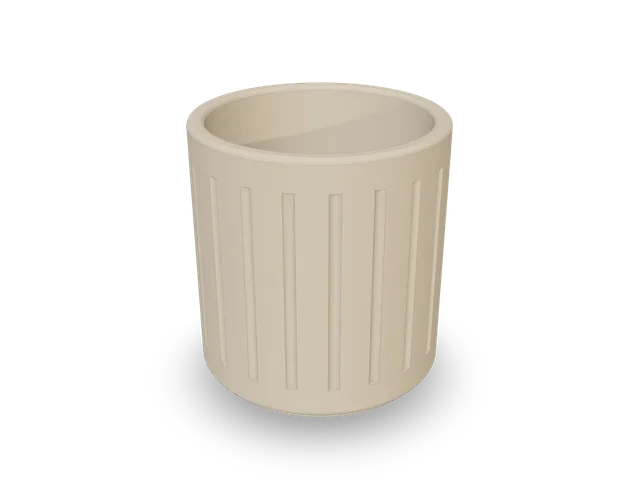 Fluted jar ⌀90
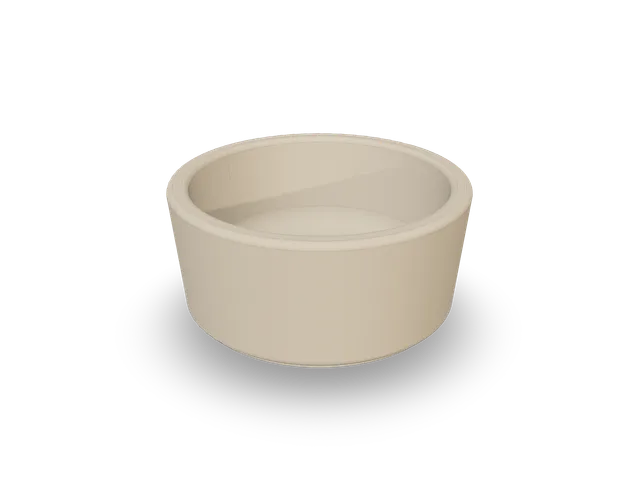 Low candle bowl ⌀100
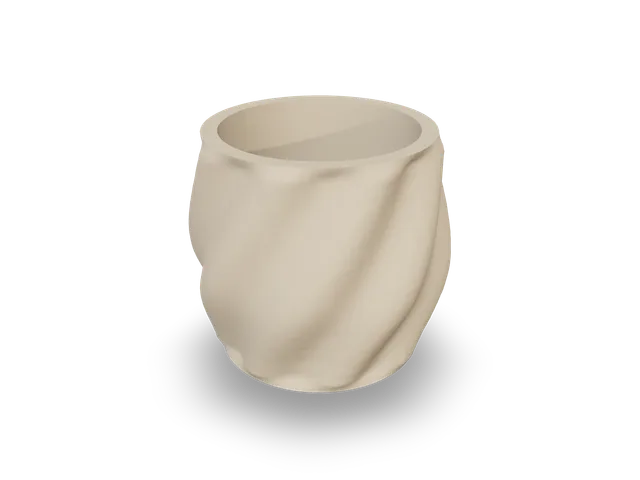 Swirl jar ⌀85
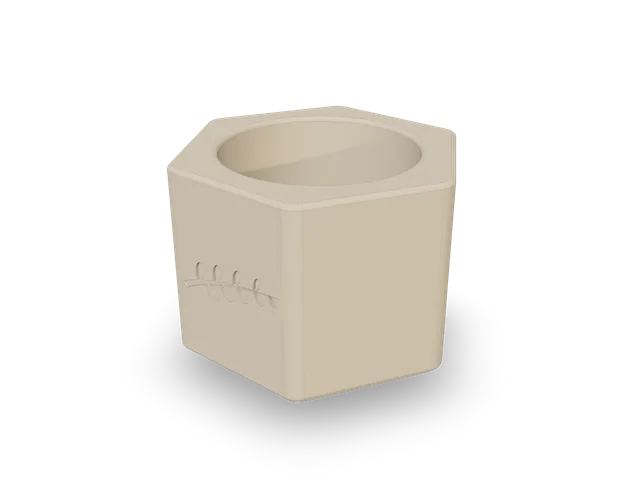 Hexagonal jar leaf
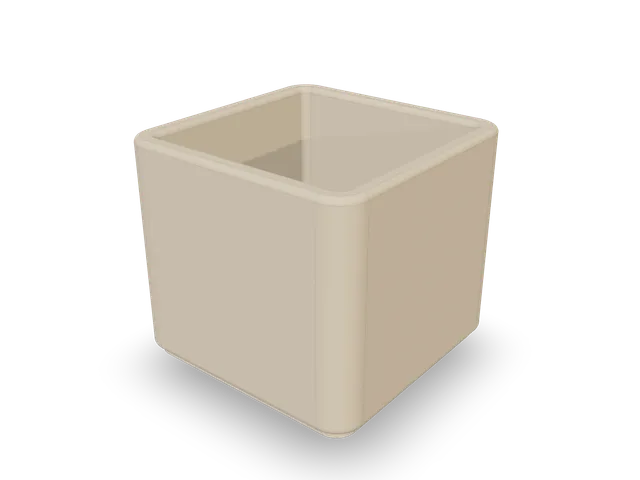 Square planter 90
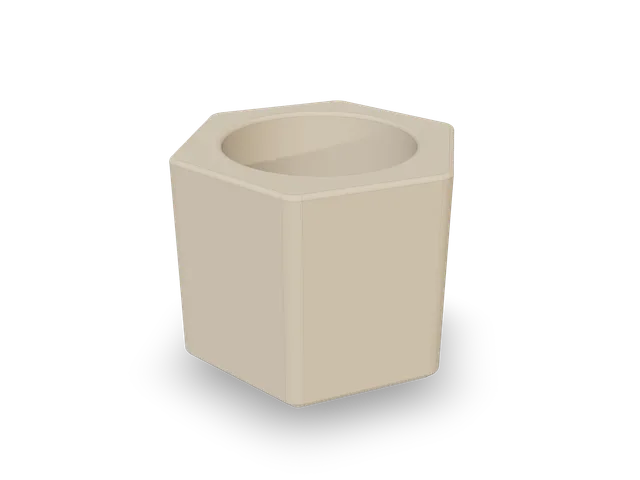 Hexagonal planter
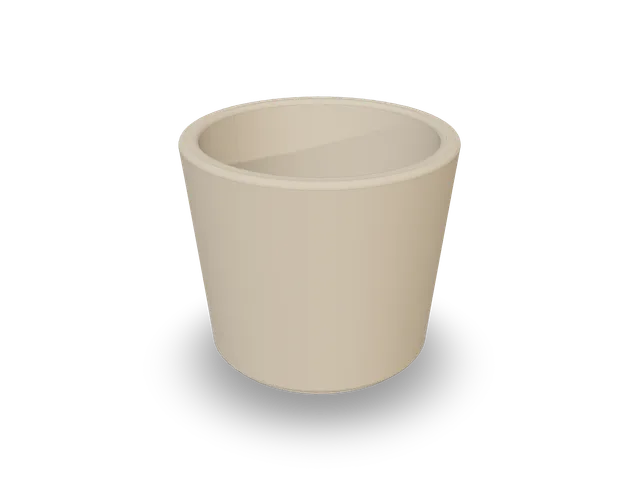 Flared planter ⌀100
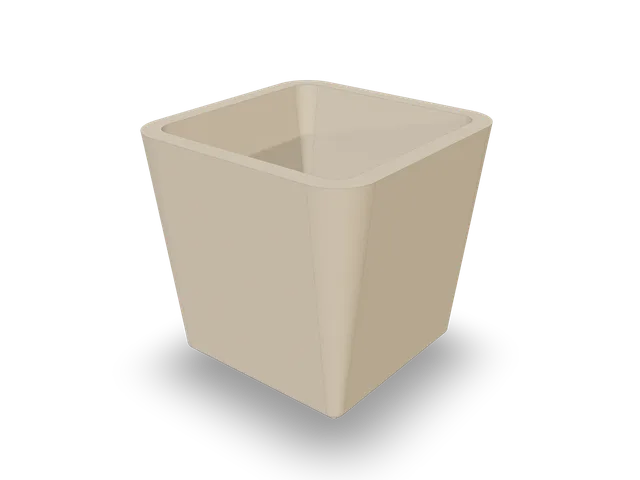 Tapered square planter
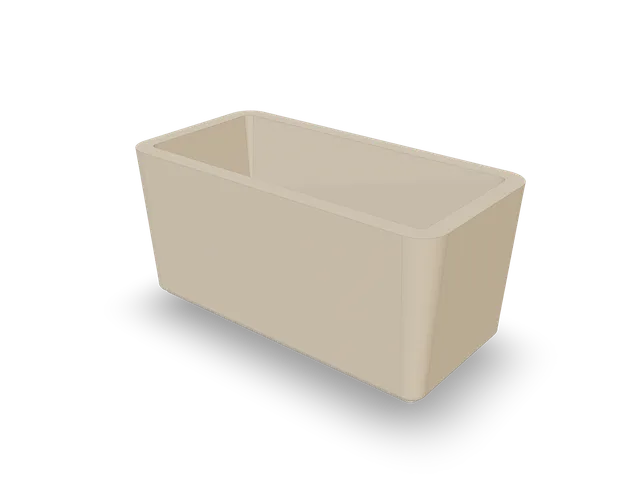 Succulent trough
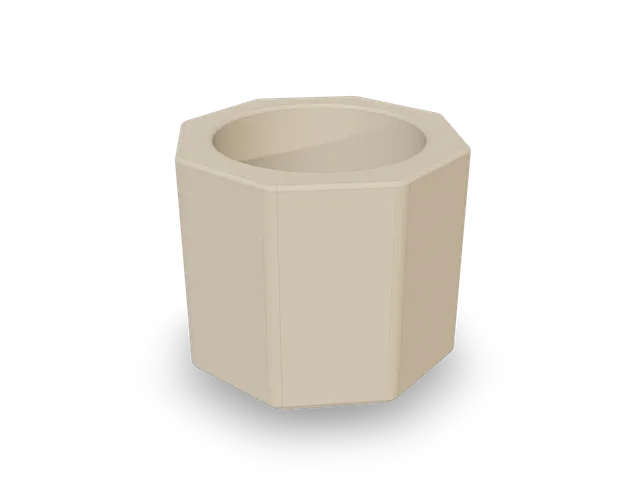 Octagonal planter
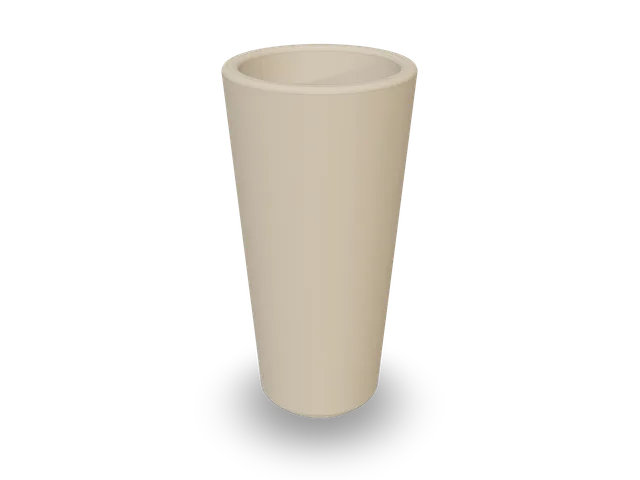 Tall vase ⌀70
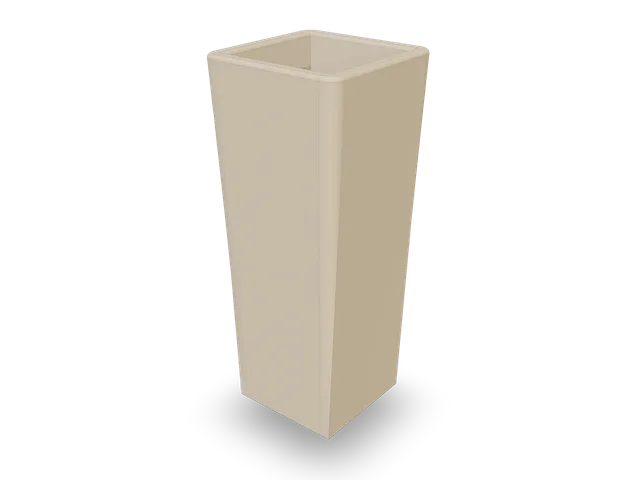 Square vase 60
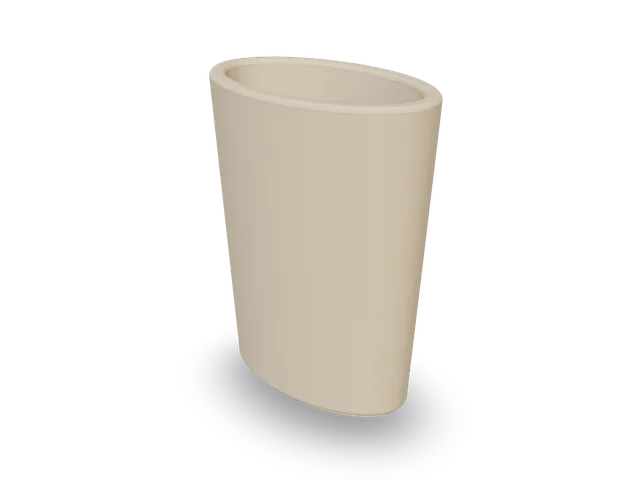 Oval vase
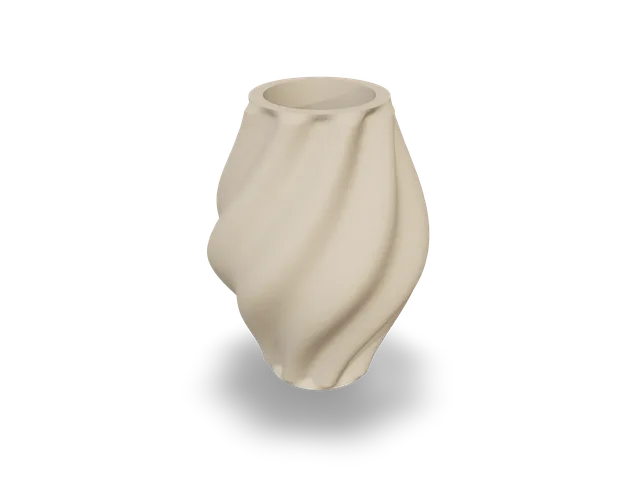 Swirl vase
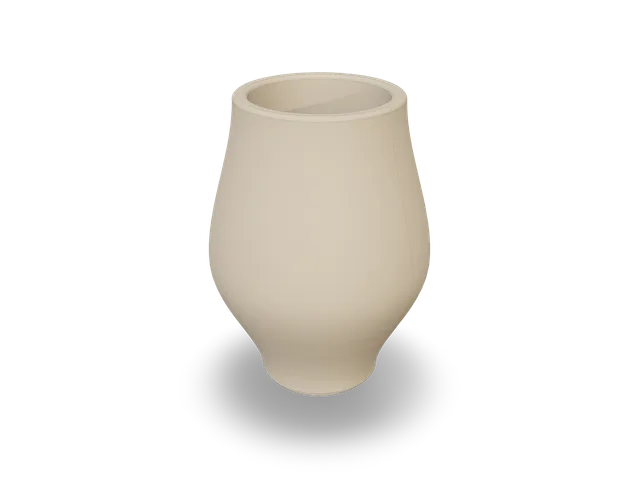 Bellied vase ⌀80
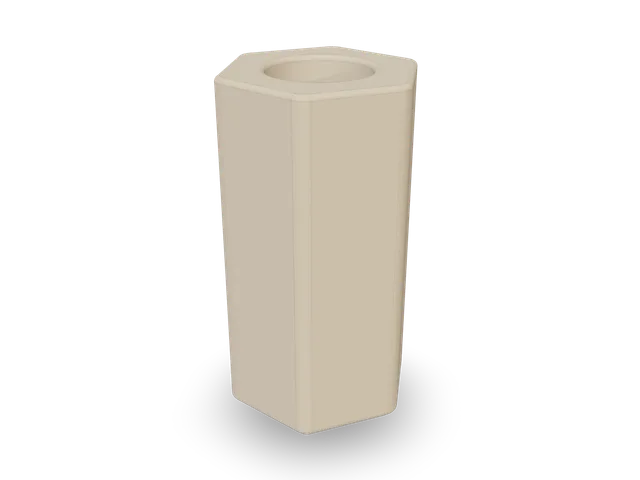 Hex bud vase
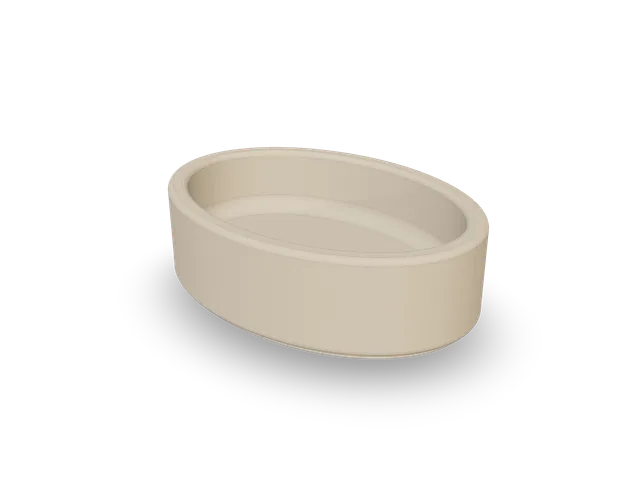 Oval tray
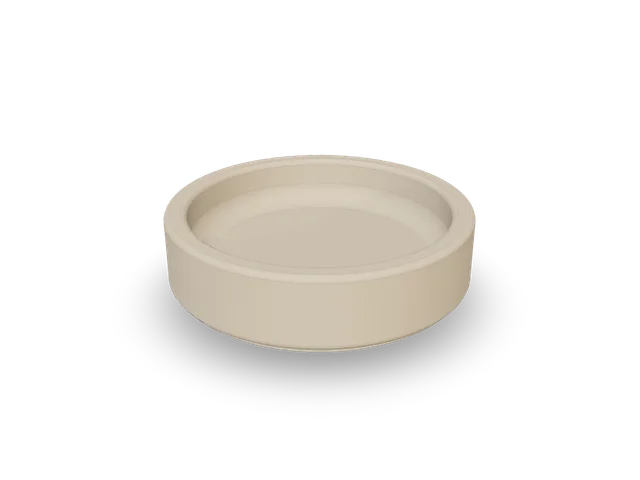 Round dish ⌀110
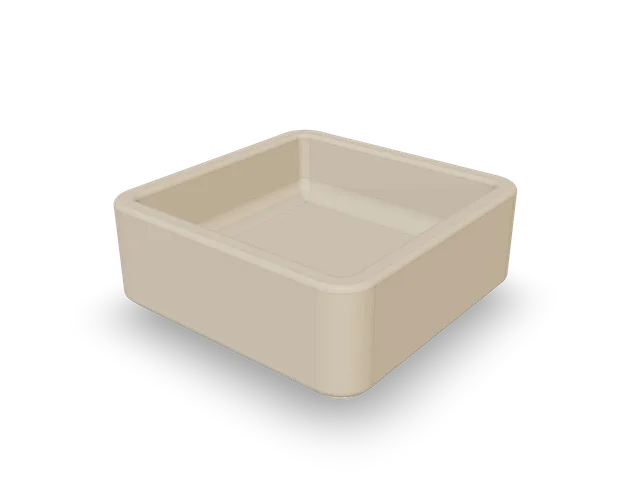 Square catch-all
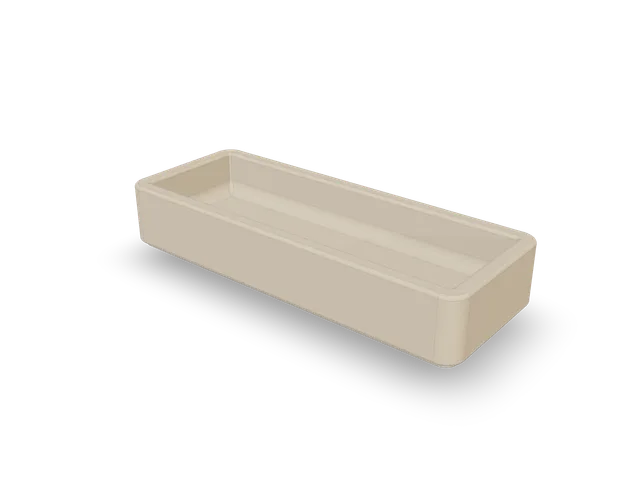 Pen tray
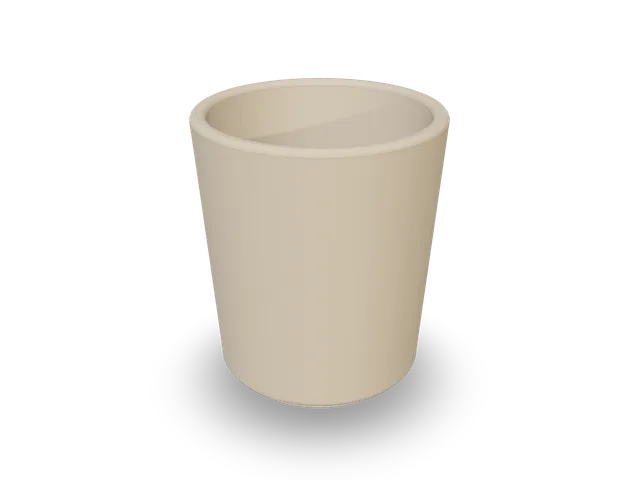 Tumbler ⌀80
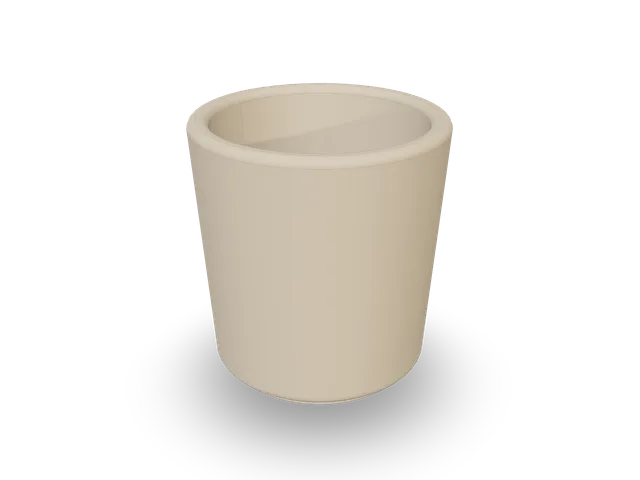 Espresso cup
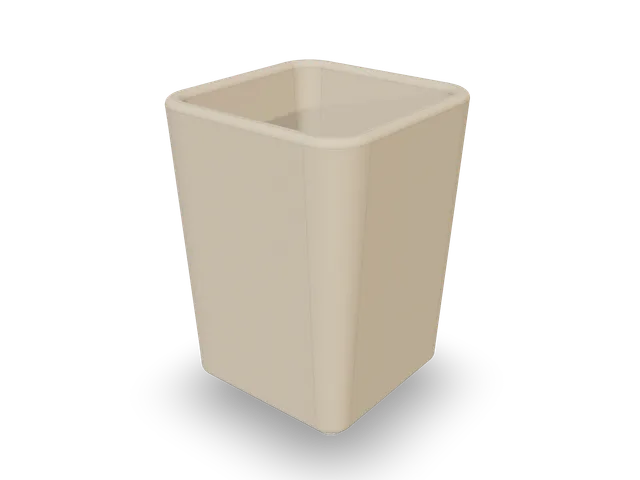 Square tumbler
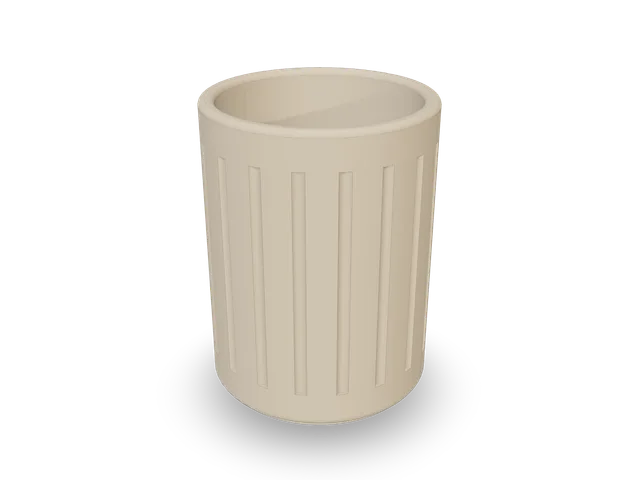 Fluted pen pot
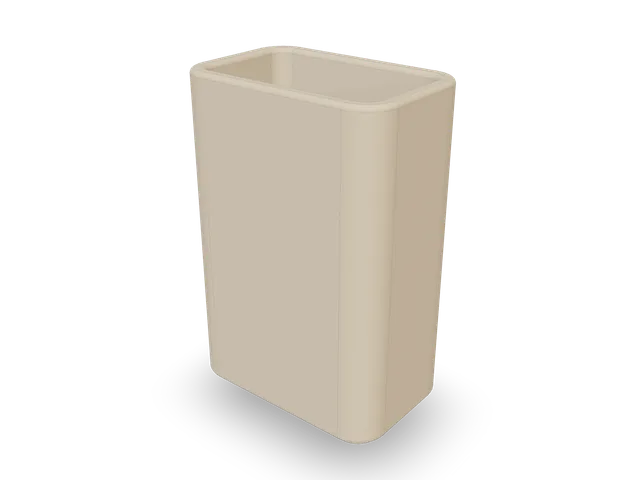 Toothbrush holder
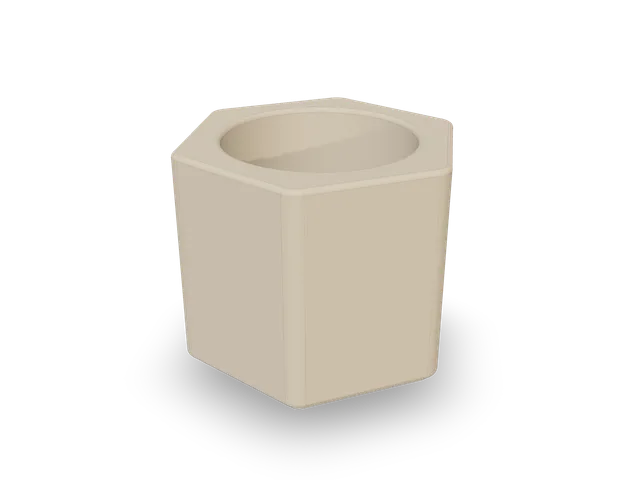 Hex organiserSquare vase 60Oval vaseSwirl vaseBellied vase ⌀80Hex bud vaseOval trayRound dish ⌀110Square catch-allPen trayTumbler ⌀80Espresso cupSquare tumblerFluted pen potToothbrush holderHex organiserSquare 80 leaf“Not Square” tilted-edgeRound jar ⌀80Fluted jar ⌀90Low candle bowl ⌀100Swirl jar ⌀85Hexagonal jar leafSquare planter 90Hexagonal planterFlared planter ⌀100Tapered square planterSucculent troughOctagonal planterTall vase ⌀70
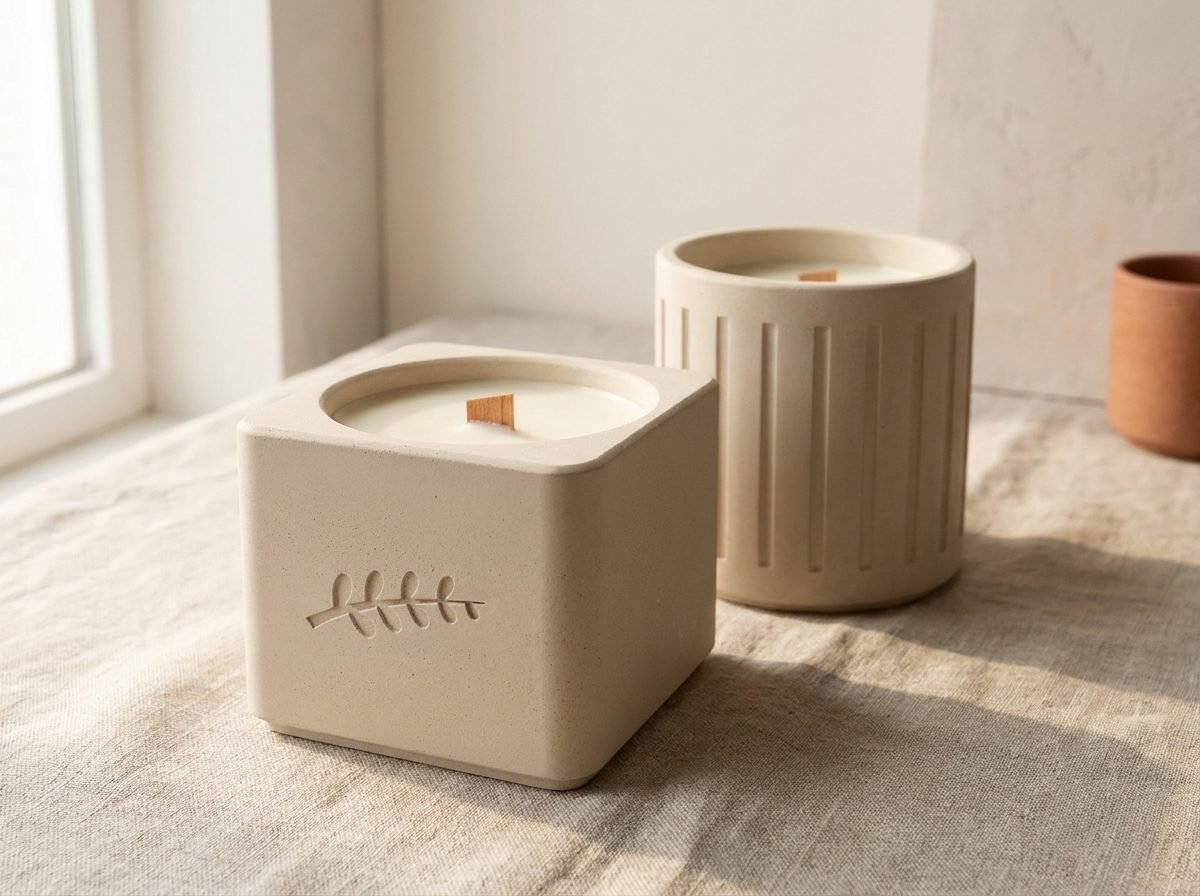
Candle jars
Wick socket formed in the mould, 150 to 350 ml, engraved or fluted.
- Candle jars≈ 184 ml
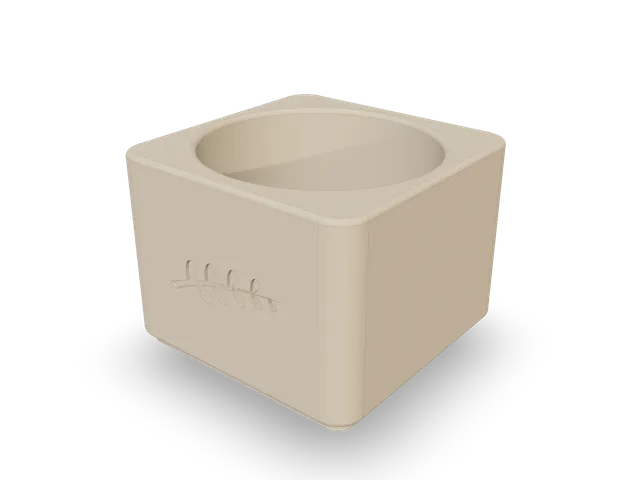
Square 80 leaf
80 × 80 × 60 mm
80 × 80 × 60 mm, elliptical cavity, 23 mm wick socket, engraved leaf sprig on the front.
Open in the studio - Candle jars≈ 184 ml
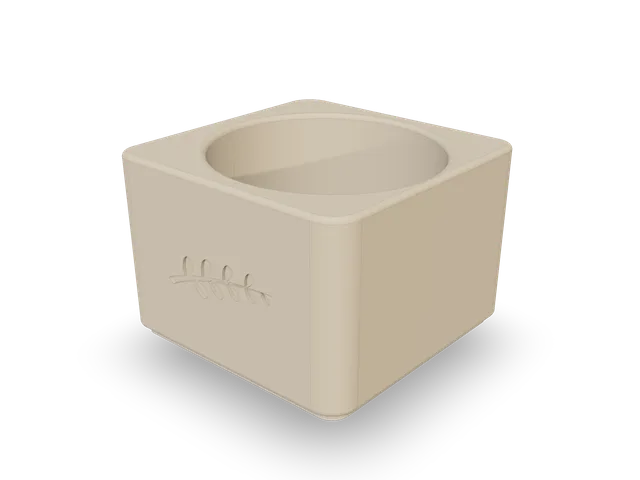
“Not Square” tilted-edge
81.4 × 80 × 60 mm
The tilted-edge square, 86 × 80 × 60 mm, cavity rotated 5°, leaf relief.
Open in the studio - Candle jars≈ 212 ml
Round jar ⌀80
⌀80 × 70 mm
⌀80 × 70 mm, 6 mm wall, wick socket. The classic 200 ml candle format.
Open in the studio - Candle jars≈ 408 ml
Fluted jar ⌀90
⌀90 × 95 mm
⌀90 × 95 mm, 20 vertical flutes, about 400 ml (14 oz).
Open in the studio - Candle jars≈ 223 ml
Low candle bowl ⌀100
⌀100 × 45 mm
⌀100 × 45 mm, gently flared, wide 15 mm wick socket for a two-wick candle.
Open in the studio - Candle jars≈ 378 ml
Swirl jar ⌀85
⌀85 × 90 mm
⌀85 × 90 mm, gently bellied, 8 soft spiral flutes, wick socket.
Open in the studio - Candle jars≈ 177 ml
Hexagonal jar leaf
85 mm across, 65 mm tall
85 mm across, 65 mm tall, round cavity, engraved leaf on one facet.
Open in the studio
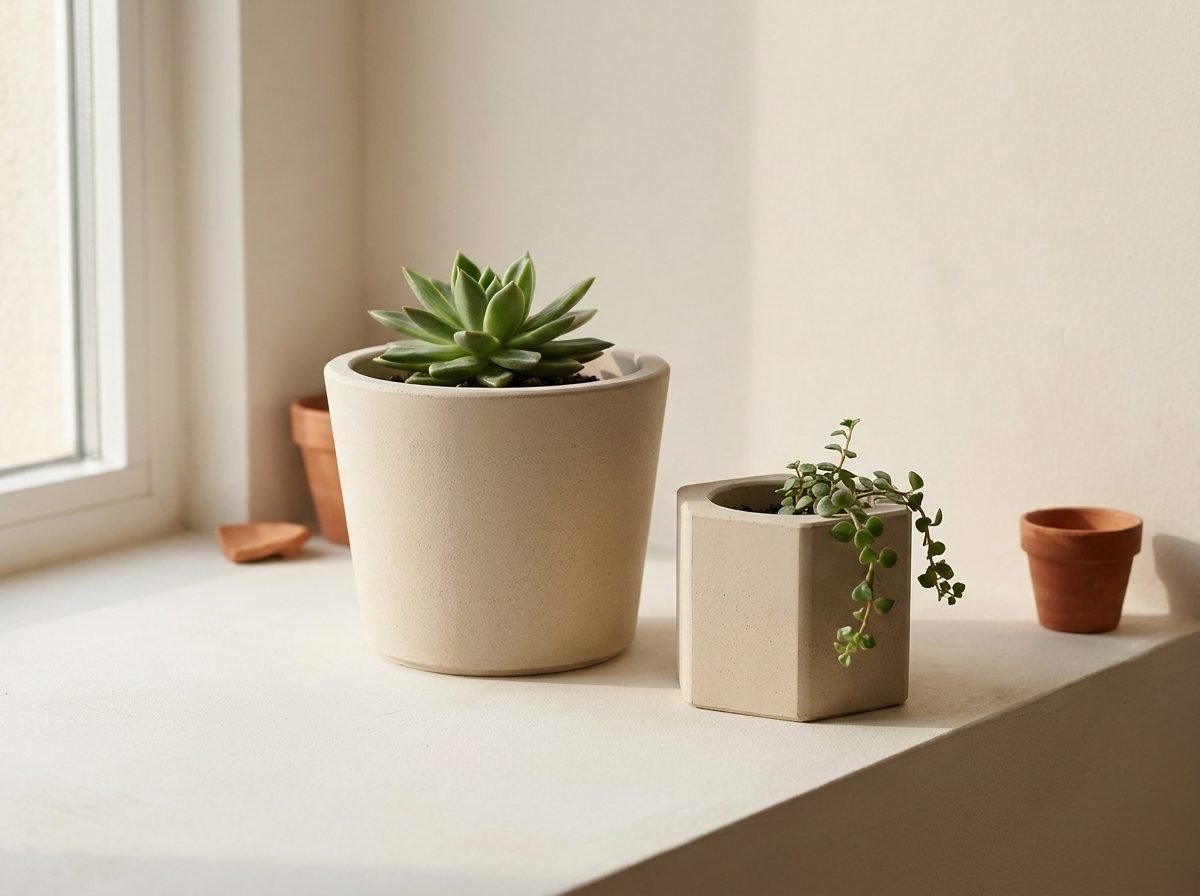
Planters
Drainage hole cast in place, straight or flared walls.
- Planters≈ 395 ml
Square planter 90
90 × 90 × 80 mm
90 × 90 × 80 mm, 7 mm wall, ⌀10 mm drainage hole.
Open in the studio - Planters≈ 221 ml
Hexagonal planter
90 mm across, 75 mm tall
90 mm across, 75 mm tall, round cavity, drainage hole.
Open in the studio - Planters≈ 469 ml
Flared planter ⌀100
⌀100 × 85 mm
⌀100 × 85 mm, 8 mm flare, ⌀12 mm drainage hole, about 400 ml of soil.
Open in the studio - Planters≈ 587 ml
Tapered square planter
95 × 95 × 90 mm
95 × 95 × 90 mm with 10 mm flare and soft 14 mm corners, drainage hole.
Open in the studio - Planters≈ 410 ml
Succulent trough
140 × 70 × 65 mm
140 × 70 × 65 mm trough, ⌀8 mm drainage hole, fits a 220 mm bed.
Open in the studio - Planters≈ 279 ml
Octagonal planter
95 mm across, 80 mm tall
95 mm across, 80 mm tall, round cavity, drainage hole.
Open in the studio
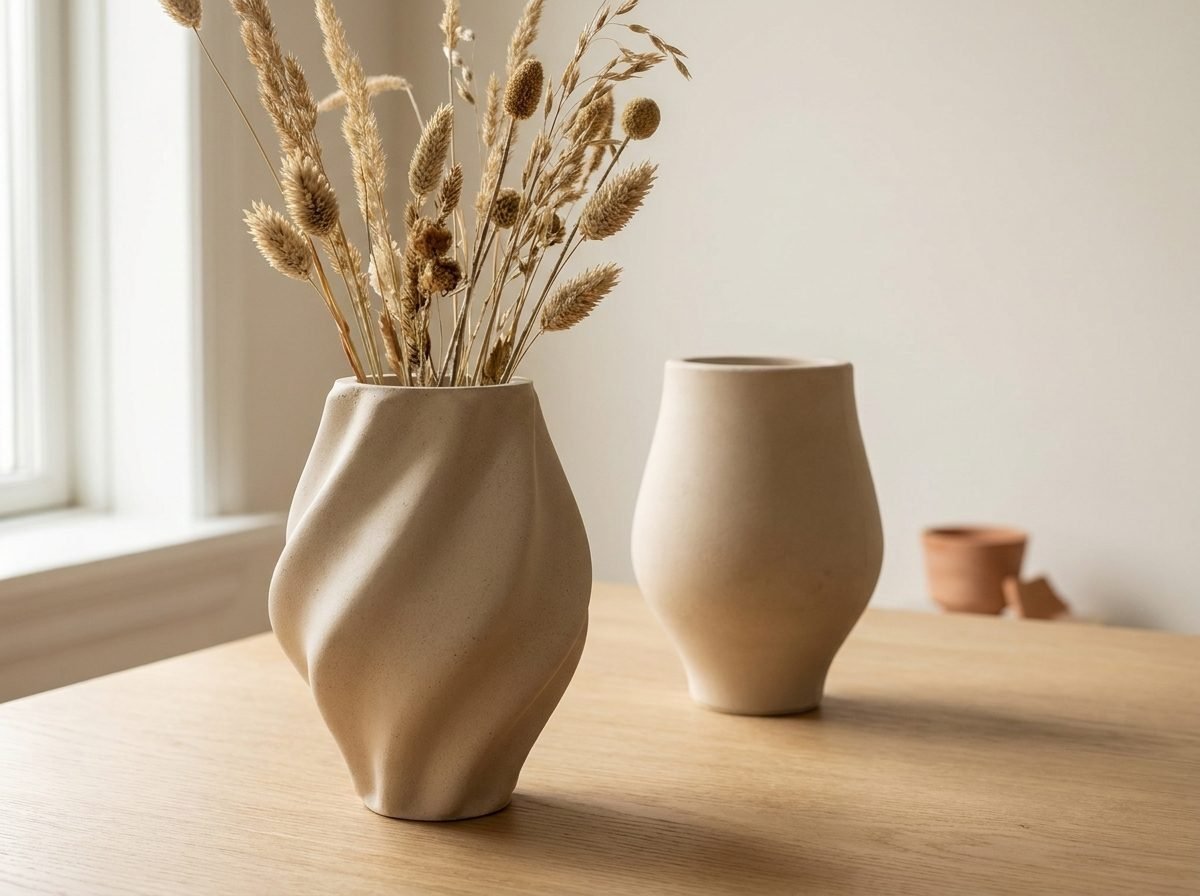
Vases
Tall tapered forms cast around a slim core.
- Vases≈ 387 ml
Tall vase ⌀70
⌀70 × 140 mm
⌀70 × 140 mm, 10 mm flare, 6 mm wall. Seal the inside before use with water.
Open in the studio - Vases≈ 424 ml
Square vase 60
60 × 60 × 150 mm
60 × 60 × 150 mm, slim and slightly flared, 6 mm wall.
Open in the studio - Vases≈ 315 ml
Oval vase
90 × 55 × 120 mm
90 × 55 × 120 mm, 6 mm flare, an elegant profile for dried stems.
Open in the studio - Vases≈ 720 ml
Swirl vase
⌀70 × 160 mm
⌀70 rim, ⌀114 belly, 160 mm tall: a bellied vase with 8 twisted flutes, like a hand-thrown swirl.
Open in the studio - Vases≈ 694 ml
Bellied vase ⌀80
⌀80 × 150 mm
⌀80 rim, ⌀110 belly, 150 mm tall, smooth curved profile, 10 mm foot inset.
Open in the studio - Vases≈ 82 ml
Hex bud vase
55 mm across, 110 mm tall
55 mm across, 110 mm tall, ⌀32 mm cavity for a single stem; slim 20 mm core.
Open in the studio
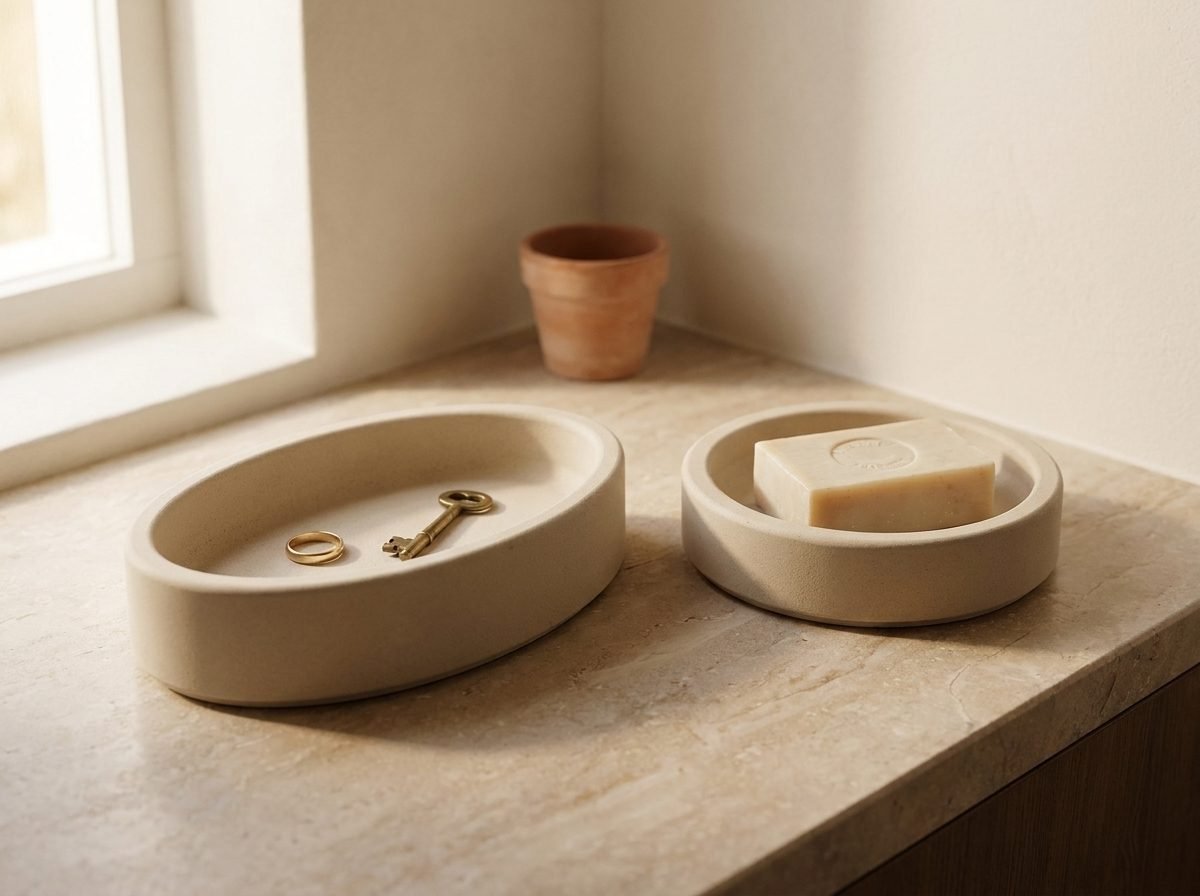
Trays & dishes
Shallow catch-alls, soap dishes and pen trays.
- Trays & dishes≈ 144 ml
Oval tray
120 × 85 × 35 mm
120 × 85 × 35 mm, shallow cavity for keys, rings and soap.
Open in the studio - Trays & dishes≈ 126 ml
Round dish ⌀110
⌀110 × 28 mm
⌀110 × 28 mm soap or ring dish, rounded floor.
Open in the studio - Trays & dishes≈ 248 ml
Square catch-all
110 × 110 × 40 mm
110 × 110 × 40 mm, 8 mm wall, soft 12 mm corners.
Open in the studio - Trays & dishes≈ 160 ml
Pen tray
170 × 65 × 30 mm
170 × 65 × 30 mm desk tray, the longest kit that fits a 220 mm bed.
Open in the studio
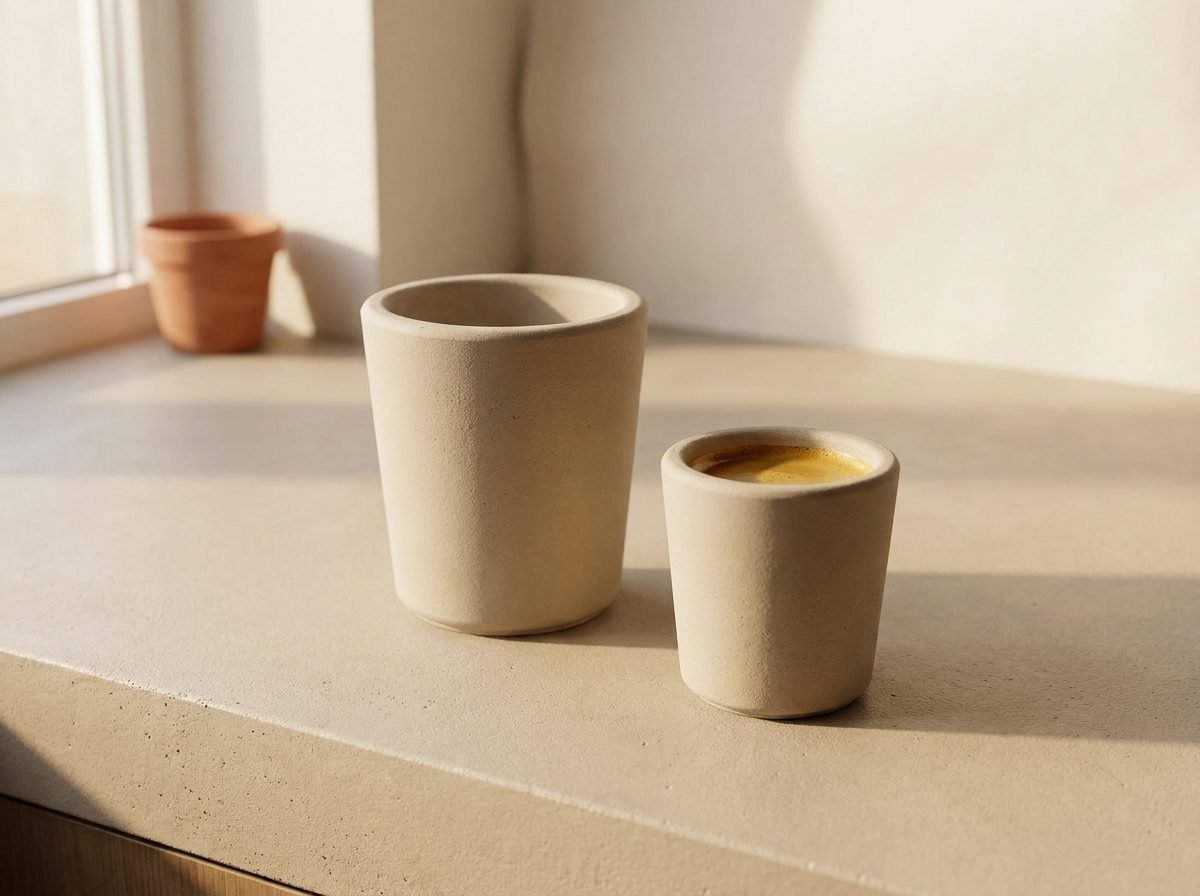
Cups & tumblers
Thin tapered walls; seal before use with liquids.
- Cups & tumblers≈ 341 ml
Tumbler ⌀80
⌀80 × 90 mm
⌀80 × 90 mm, 5 mm wall, 6 mm flare, about 300 ml.
Open in the studio - Cups & tumblers≈ 134 ml
Espresso cup
⌀62 × 65 mm
⌀62 × 65 mm, 5 mm wall, 4 mm flare, about 110 ml.
Open in the studio - Cups & tumblers≈ 332 ml
Square tumbler
70 × 70 × 95 mm
70 × 70 × 95 mm with 12 mm corners and a 5 mm flare.
Open in the studio
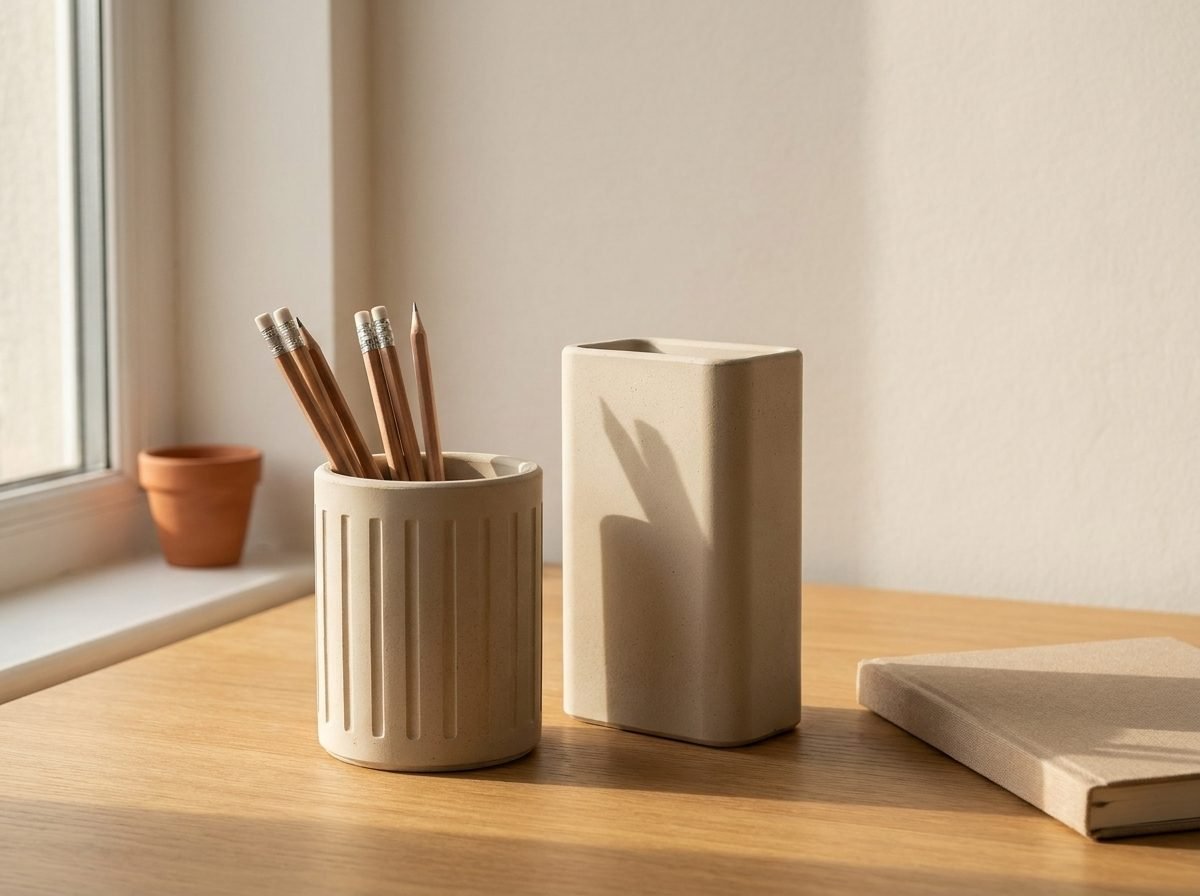
Desk & storage
Pen pots, toothbrush holders, hex organisers.
- Desk & storage≈ 318 ml
Fluted pen pot
⌀75 × 100 mm
⌀75 × 100 mm, 18 flutes, 5 mm wall.
Open in the studio - Desk & storage≈ 207 ml
Toothbrush holder
70 × 45 × 105 mm
70 × 45 × 105 mm, ⌀8 mm drain hole in the floor.
Open in the studio - Desk & storage≈ 183 ml
Hex organiser
80 mm across, 70 mm tall
80 mm across, 70 mm tall, ⌀60 mm round cavity; stack several side by side.
Open in the studio
Works with the silicone and castables you already use.
- Silicone
- Tin-cure (condensation) RTV, Shore A 15–25, is the most tolerant with printed masters. Platinum (addition) silicone lasts longer but can be inhibited by some prints — SLA resin above all, occasionally PLA or PETG. Seal resin masters with spray paint or acrylic sealer and run a contact test on a scrap print.
- Castables
- Fine concrete and rapid-set CSA cements, Jesmonite AC100, plaster, casting resin. Mix ratios and demould times are in the casting guide.
- Filament
- PLA for every part. PETG if your workshop gets warm. 0.6 mm line width and two perimeters on the formwork, 0.12 mm layers on the master.
- Hardware
- One M5 × 12 countersunk screw and nut, one 4 mm × 16 wood screw, four 25 mm binder clips, a non-silicone release spray.
Free during the launch. Sell what you cast.
Designing, previewing and generating kits are free for now. A per-kit price will come later; everything you download today stays yours.
- 9 STL files generated from your exact parameters: 6 mould parts plus their variants
- README with silicone and concrete quantities, print settings and steps
- Print as many copies as you need for your own workshop
- Personal and commercial use of the cast objects, no expiry
- Download link right away, plus a copy by email
No card, no account. The paid version will come later.
What early-access makers check first.
Illustrative examples, not customer quotes. They will be replaced by real feedback as the early-access cohort reports back.
- Example
I weighed exactly what the README said and the silicone reached the line with a spoonful to spare.
Early-access maker, candle vessels
- Example
The formwork printed upright in one go and clicked shut. Two clips, no tape.
Early-access maker, planters
- Example
Casting upside-down is the trick: the rim comes out of the mould, I only level the foot.
Early-access maker, trays
Questions makers ask before their first kit.
Short answers. The guides go deeper on silicone, formwork and casting.
Still unsure? Write to hello@mouldery.com.
What exactly is in a kit?
A ZIP with nine STL files — master model (plus a plain variant), one-piece formwork (plus a two-half variant), base plate, rigid core, bridge, wick centring tool and a reference model of the finished vessel — plus a README with the hardware list, silicone and concrete quantities, print settings per part and the step-by-step.
Which 3D printer and filament do I need?
Any FDM printer with a 220 × 220 mm bed covers the current presets. PLA works for every part; PETG if your workshop gets warm. The formwork prints upright with a 0.6 mm line width and two perimeters, no supports on any part.
Which silicone should I use?
A pourable mould silicone of Shore A 15 to 25. Tin-cure (condensation) silicone is cheaper and tolerant with printed masters. Platinum silicone lasts longer but can be inhibited by some prints: seal resin masters with spray paint or acrylic sealer and test on a scrap print first.
How much silicone will I need?
Your README gives the computed volume plus a loss margin, in millilitres and grams. For an 80 mm candle jar it is roughly 430 ml computed, 470 ml to buy. Tray presets need less, deep planters more.
Do I need draft angles?
No. The vessel is released by deforming the silicone block, and the inner sleeve peels out of the cavity once the rigid core is removed. Straight walls and light undercuts demould fine. The core itself carries 1° so it slides out of its sleeve.
Your next vessel is one evening of printing away.
Configure it in the studio, print the kit tonight, pour silicone tomorrow.